
How to organise a small desk without losing your working space
You open your notebook and have to push the keyboard aside. To find your earphones, you lift a pile of papers. A small desk often becomes awkward through these small interruptions, even when it does not look particularly cluttered.
To organise a small desk, protect the space needed for your main task, give loose items one clear home and move occasional-use supplies off the surface. Start with what you already own. You do not need a new shelf, tray or matching set of boxes to find out what works.
1. Arrange the desk around a task, not a photograph
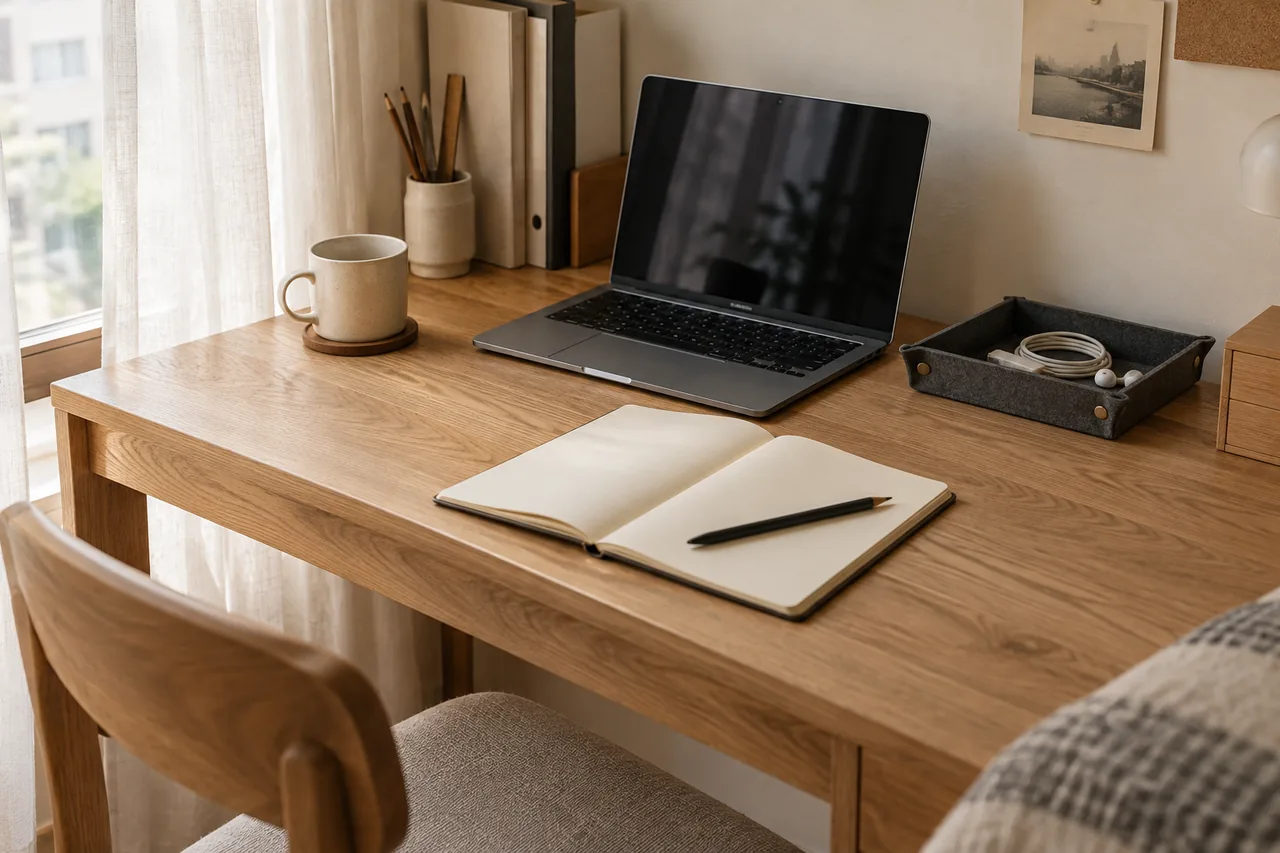
Remove loose objects, then put back the things you need for one real piece of work. If you usually type and take notes, open your laptop, turn your notebook to the page you are using and write a few lines. The space your hands need is the space to protect.
If your work involves printed documents, try the arrangement with an actual sheet of paper. If you use a separate mouse, move it through its usual range before placing anything beside it. An arrangement that looks tidy but leaves nowhere to work still needs adjusting.
- Used every session: keep it within comfortable reach.
- Used occasionally: store it in a nearby drawer or on a shelf.
- Not sure whether you need it: set it aside to review, rather than giving it a permanent pile.
2. Give the surface three simple zones
The working zone is directly in front of you: your computer, mouse and the paper or notebook currently in use. The quick-access zone holds a pen, earphones or charging cable. The pending zone is for documents connected to unfinished work.
For a laptop-and-notebook setup, try the laptop farther back, the notebook on your writing side and a small collection point toward the outer edge. Reverse the sides if that feels more natural. Check whether your arm catches an object or crosses a charging cable when you write.
A dining table needs a different arrangement. Keep your work supplies in a portable box so you can clear the whole setup when the table is needed for a meal. The right layout should support the table’s actual role in your home.
3. Gather small objects without making a catch-all pile
A shallow tray can help when a few regularly used items keep wandering: the pen you are writing with, an earphone case and a cable you have just unplugged. Place them side by side so you can see them at a glance. A low box you already have is enough to test the idea.
Before choosing a tray, lay out the items you want it to hold and measure the free space on the desk. External dimensions tell you whether the tray will fit on the surface. Internal dimensions tell you whether a particular object will fit inside.
Keep the tray for things you want to reach quickly. Old receipts, flat batteries and unused cables need separate decisions. If you have to rummage, remove items before replacing the tray with a larger one.
4. Route cables around the work, not across it
Connect the devices you actually need, then route their cables along the edge of the desk. Leave enough slack for normal movement without pulling on the connectors. Keep cables away from the area where you open a notebook or move a mouse.
Move the computer and chair as you would during a working session. If a cable catches or pulls tight, change its route before securing it. Follow the equipment instructions for chargers and power strips; do not squeeze them into a closed box simply to hide the wires.
5. Give paperwork a clear next step
Separate papers that need action from papers that need filing. Keep active documents together in one folder and move reference material to its storage place. Check the contents before removing papers you no longer need.
For a document waiting on a reply, add a short note describing the next action: “check the price list” or “send the revision”, for example. When you reopen it, you will see a task rather than an unexplained stack.
6. End the session by putting things back
Return your pen and earphones, close or gather the active documents and leave space for the first task of your next session. The desk does not have to be completely empty. The objects that remain simply need a reason to be there.
After a few sessions, notice which item is always left outside its intended place. Its storage spot may be too far away or awkward to open. Move it somewhere convenient instead of trying to maintain a layout that works only in a photograph.
Before buying more storage, try this check
Use the new arrangement for a normal working session. Then ask:
- Can I use the computer and open my notebook without moving things every time?
- Can I reach frequently used items without searching or catching a cable?
- Do I know where each item goes when I finish?
If the answer to all three is yes, your desk is working better for you. If you still need somewhere to collect loose items, measure the available space and check a tray’s internal dimensions before choosing one. A useful accessory should solve a specific problem on your desk.
Illustrative SEO details for this sample
- Search topic
- how to organise a small desk
- Reader intent
- Find a workable small-desk layout using existing supplies.
- SEO title
- How to Organise a Small Desk and Keep Room to Work
- SEO description
- Organise a small desk around the way you work. A practical guide to desk zones, loose items, cables and paperwork, using what you already have.
- Suggested slug
- how-to-organise-a-small-desk